If you want Photoshop power without the monthly subscription, GIMP is the obvious choice—but its default interface can feel unfamiliar and clunky to long‑time Adobe users. That is exactly where the PhotoGIMP theme comes in. With a single patch, you can turn GIMP into something that looks and behaves much more like Photoshop, complete with familiar shortcuts, tools, and layout.
What is PhotoGIMP and why use it?
PhotoGIMP is a free customization patch that transforms GIMP’s interface so it closely mimics Adobe Photoshop’s workspace. It doesn’t change GIMP’s core engine or add paid features, but it reorganizes the UI and shortcuts so your transition from Photoshop feels almost seamless.
With PhotoGIMP applied, you typically get:
-
A Photoshop‑style layout with panels and tools placed where you expect them.
-
Reorganized tool icons that mirror Photoshop’s toolbar.
-
Keyboard shortcuts remapped to match common Photoshop defaults (like Ctrl+T, Ctrl+J, etc.).
-
A cleaner canvas area with more room for your image and fewer distractions.
-
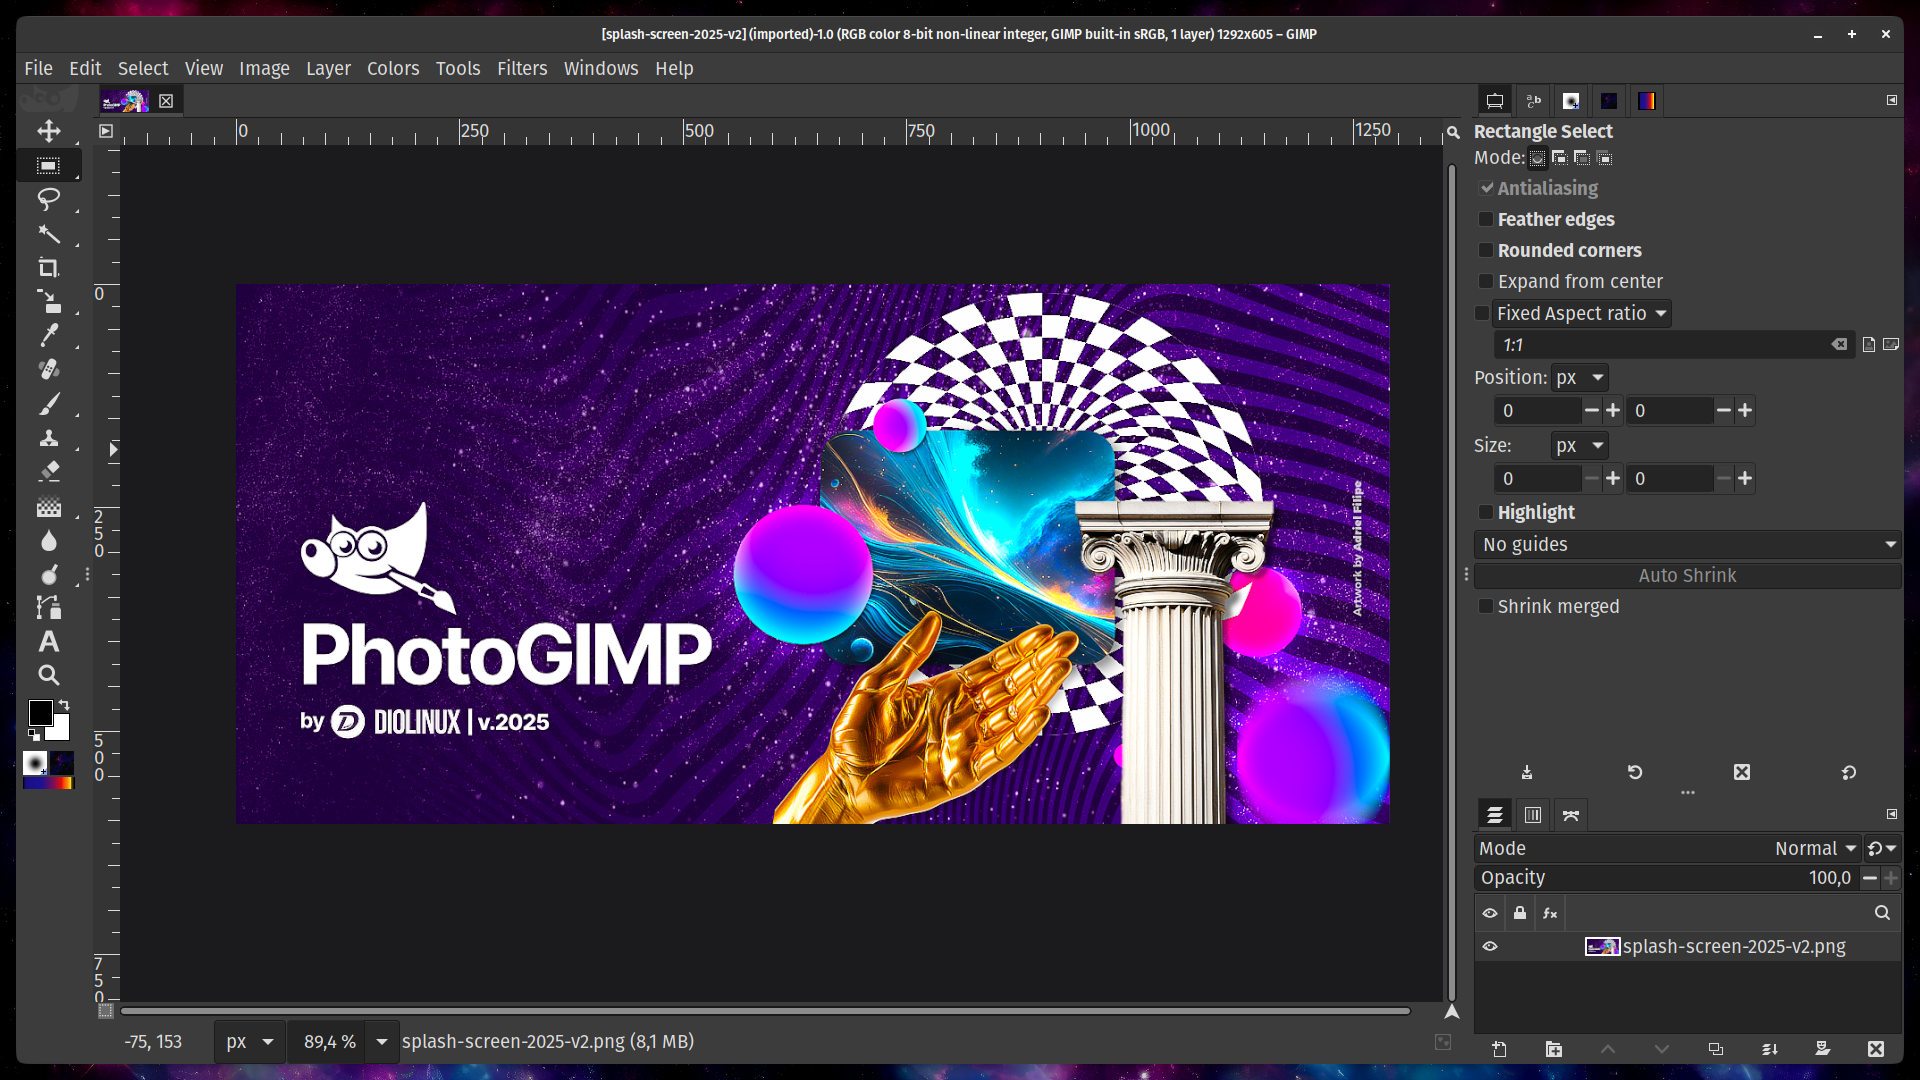
Visual tweaks such as a new splash screen and icon, so you instantly know you’re in the PhotoGIMP environment.
The main benefit is speed: you spend less time hunting for tools and more time actually editing.
How PhotoGIMP makes GIMP feel like Photoshop
Instead of forcing yourself to relearn muscle memory built over years in Photoshop, PhotoGIMP reshapes GIMP’s interface to match what you already know.
Key improvements usually include:
-
Tool layout: Tools are grouped and arranged similarly to Photoshop’s toolbar, so common operations like move, crop, brush, clone, and text feel instantly familiar.
-
Panels and docks: Layers, channels, and paths are placed together in a vertical stack, much like Photoshop’s right‑hand panel. Color, brushes, and adjustments are also organized into predictable spots.
-
Shortcuts: Many of GIMP’s shortcuts are changed to emulate Photoshop defaults. This is a huge win if you’ve spent years pressing the same key combinations and don’t want to retrain your hands.
-
Workspace focus: Default settings are adjusted to maximize your canvas area and reduce visual clutter, making GIMP look more like a focused, professional editing space.
All these changes operate at the user‑interface level, so GIMP remains open‑source and free, but feels far less “foreign” coming from Adobe’s ecosystem.
How to install the PhotoGIMP theme (high‑level overview)
Exact steps differ slightly depending on your operating system and GIMP version, but the process always follows the same basic pattern: download PhotoGIMP, copy its configuration into your GIMP profile, then restart GIMP.
A typical workflow looks like this:
-
Download the PhotoGIMP package
-
Go to the project’s official repository or site (commonly hosted on a public code platform or dedicated website).
-
Download the latest release archive (often a .zip file). Download Link
-
-
Locate your GIMP configuration folder
-
On Windows this is usually inside your user profile’s AppData or a similar config directory.
-
On Linux it lives inside your home folder under a hidden .config or .var path, depending on your install type (regular vs. Flatpak).
-
On macOS the config folder sits under your user Library directory.
-
-
Copy the PhotoGIMP files into your GIMP config
-
Extract the downloaded PhotoGIMP archive.
-
Inside, find the folder that matches your GIMP major version (for example “2.10” or “3.0”).
-
Back up your existing GIMP config folder with the same name (just rename it or zip it).
-
Replace or merge it with the PhotoGIMP version of that folder.
-
-
Launch GIMP (now PhotoGIMP)
-
Start GIMP again.
-
You should see a refreshed splash screen and a Photoshop‑like layout.
-
Try a few common shortcuts to confirm they now behave more like Photoshop.
-
If anything looks broken or you want to revert, simply restore the backup of your original GIMP configuration folder and restart GIMP.
Essential features you get with PhotoGIMP
PhotoGIMP focuses on usability and workflow, not turning GIMP into a clone of Photoshop’s proprietary features. You still benefit from GIMP’s strengths, but with a smoother, more modern experience.
Typical enhancements include:
-
Photoshop‑style keyboard shortcuts so long‑time Adobe users feel at home quickly.
-
New Python‑based filters and helpers such as convenient healing or retouching options, making common tasks faster.
-
Custom splash screen and branding so it’s clear when you are running the PhotoGIMP configuration.
-
Optimized default preferences like docking layout, theme tweaks, and canvas space designed for serious editing work.
Because the patch is just a configuration and layout layer, you keep all of GIMP’s flexibility: you can still change themes, reorder docks, and customize shortcuts further on top of what PhotoGIMP provides.
Limitations: what PhotoGIMP does not do
It is important to understand that PhotoGIMP makes GIMP look and feel like Photoshop, but it does not magically add every Adobe feature. GIMP and Photoshop are different engines, with different file formats and capabilities.
Some limitations you should keep in mind:
-
True Photoshop‑only features such as some AI tools, advanced content‑aware fills, or native CMYK workflows are still missing or rely on plugins and workarounds in GIMP.
-
Complex PSD files with adjustment layers and smart objects may not translate perfectly when opened in GIMP.
-
The interface will resemble Photoshop, but menu names, filter behavior, and certain tool options can still differ.
Think of PhotoGIMP as a comfort and productivity layer. It eases the learning curve and makes GIMP feel less alien, but it doesn’t replace the entire Adobe ecosystem.
Tips for switching from Photoshop to GIMP with PhotoGIMP
To get the most out of this setup, treat the switch as an opportunity to streamline your workflow:
-
Start by recreating a small, familiar project you used to do in Photoshop—like basic retouching for a portrait or a simple composite—and replicate each step in PhotoGIMP.
-
Keep a list of your top 10 keyboard shortcuts from Photoshop and verify how they behave in PhotoGIMP. If something doesn’t match, adjust it in GIMP’s keyboard shortcut settings so your muscle memory remains consistent.
-
Save custom workspaces for different tasks (retouching, compositing, design) so you can jump between layouts as you would with Photoshop’s workspace presets.
-
Take advantage of GIMP‑specific strengths, such as powerful scripting and plugin options, to go beyond a one‑to‑one Photoshop clone.
Once you’ve done a few real‑world edits with the PhotoGIMP theme, you’ll find that GIMP becomes a powerful, cost‑free alternative that feels dramatically more approachable than its default setup.